Hey it's Rach.
And to make up for the slackness that is me, I'm posting a DOUBLE CRAFT.
That's right. Two crafts for one. Its a long post so I'll shut up and start the crafting.

Because I'm a BAWS.
First Craft:
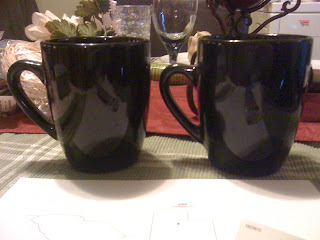
Home Sick Buddies Tea Mugs.
Elyse lives in Utah, and I live in South Carolina. Hence this long distance blog, we thought this would be a good way to keep in touch, and to share crafts with each other, and the rest of you awesome crafty bitches.
So I came across this awesome mug tute on Pinterest of all places.
Long Distance BFF Mugs
How cute! And since Elyse will be here next month, I am in the process of making her awesome things. I AM SUPER EXCITED.
So I went to Walmart and the Dollar Store.
Hate Walmart, Love the Dollar Store (the everything one dollar store).
But the Dollar Store does not carry Metallic Sharpies.
I digress.
So I went to Walmart and grabbed some Metallic Sharpies. (I used Metallic, because I was using black mugs)
Then I went to the Dollar Store and grabbed two plain mugs for a buck apiece. SWEET.
 |
| TWO BUCKS. |
|
|
So then I got my sharpies together, and printed out an outline of each of our states.
Then I cut out the states right on the outline.
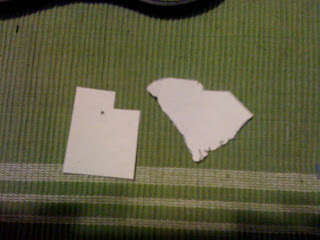 |
| Utah and the "triangle of boredom" |
|
Elyse, who knew your state was so...geometric.
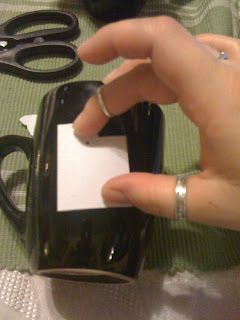
So I positioned each of the cutouts on their own mug, and traced.
 |
| Seriously, when I googled "utah outline", I was like, "Bullshit". |
|
Then I went over to the Hot Box, (oven) and preheated it to 350.
I finished the state outlines, and put whatever the fuck else I wanted on it.
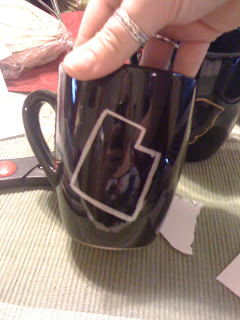 |
| Utah |
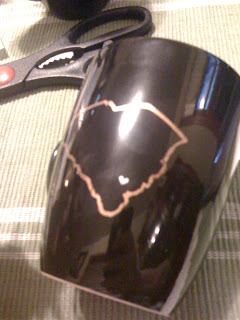 |
| South Carolina |
The one with my state goes to her, and the one with her state goes to me.
So every time we enjoy a hot drink, and see the little hearts, (where we live), and go, I MISS THAT CRAZY BITCH.
So I pop 'em in the oven for 45 minutes. After 45 minutes, I turn off the oven, and let them cool in there.
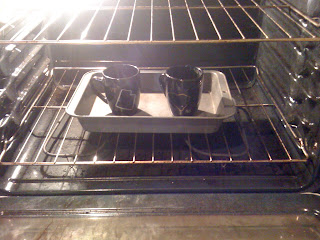 |
| Shine bright like a DIAmond. |
And then, when cool, you take em out, and there you go. You can use them AND wash them and the sharpie will not come off ! How cool! And you don't have to just make these, get creative!
They make fantastic gifts!
---------------------------------------------------------------------------------------------------------------------------
Now on to craft number two.
Elyse and I were having a conversation the other day about tea, like you do.
We are both the kind of people who have a plethora of teas in our house at all times. Even me, and I like to think of myself as a java chick. But sometimes you just want a cuppa hot tea. Good for what ails ya and what not.
We both have a TON of tea. Elyse says the husband is constantly asking her what teas they have, while making a mess of the kitchen, and I myself wonder what teas I have, also whilst making a mess of the kitchen.
Not to mention Elyse's parents, who have a better variety of teas then most grocery stores I've ever been in. No lie.
Then I came across
this.
A tea wreath!
A great way to display all the teas you have, without having to constantly rummage through your cabinets, and great for guests! (also gifts)
And its really cheap to make. Like I made two for 6 bucks out of pocket, and had stuff left over.
A tea wreath. An attractive way to display your variety of teas.
But when I think of wreath, I think of an actual wreath, not a circle of cardboard, not that anything is wrong the those. They are very adorable. But I had an idea.
First, get you:
A wreath, or two
 | |
| One dollar apiece. | | | | | |
|
Then a glue gun with plenty of glue sticks, obviously. Dog not included.
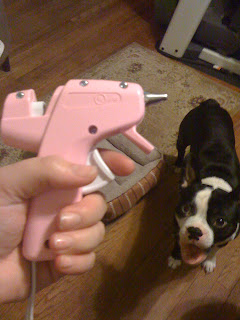 |
| Bowie in disbelief! |
Also, a package of clothes pins. Just regular ole clothespins. Also a buck.
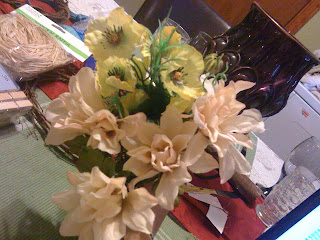 |
| Flowers! |
You will need some silk flowers in any color you would like, I got these from the dollar store as well. (This is quickly turning into a dollar store craft).
I don't know what color Elyse's kitchen is so I got peach like her hair, and yellow, because my kitchen is yellow.
Optional is a shit ton of raffia. Feel free to use ribbon. This shit was a mess. Got it from the dollar store...of course.
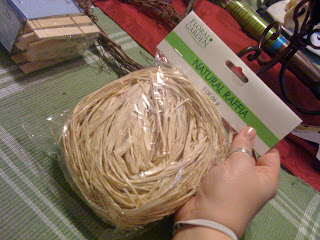 |
| A friggin mess... |
So figure out about how many clothes pins you are going to need, depending on the size of your wreath.
Leave a gap at the top for ribbon and flowers, and ribbon to make some sort of loop to hang it.
Then start to carefully glue on your clothes pins with the part that opens (the mouth) facing out! or else you tea wreath is gonna look hella dumb. Seeing as the wreath is uneven, you might need to hold the clothes pins and use plenty of glue. BE CAREFUL WITH THE GLUE GUN.
Once you have all your clothes pins on FACING OUT! Start adding your embellishments. Get creative!
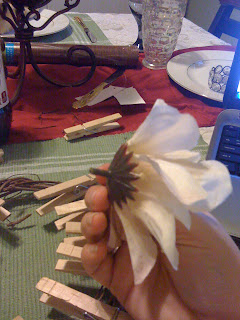 |
| Just pop em right off the stem, and stick em on. |
|
 |
| Don't be afraid to use the green parts too!! |
|
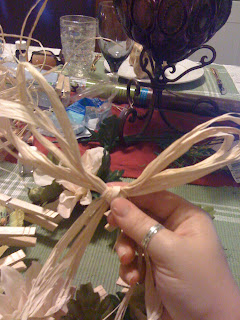 |
| Add you a bow. Classy. |
|
Glue some sort of loop on the back to be able to hang your wreath. Make sure it's strong enough to hold your wreath with tea on it.
So now lets rummage up some of my tea...
Here....
And here.
and look....
more tea.
Clip them on your wreath, and hang it!
Super cute. For six bucks I had enough to make two of these, if you have a glue gun and packaged tea on hand! They make great gifts, and they are adorable. Get creative! Use your favorite colored flowers and ribbon, and as cheap as they are to make you could make different themed ones for different holidays!
Whew. That was a long post. I'm going to have some wine. This is Creating Under the Influence after all.
Oh and here's the other wreath!
<Rach.


.gif)


